Measurement
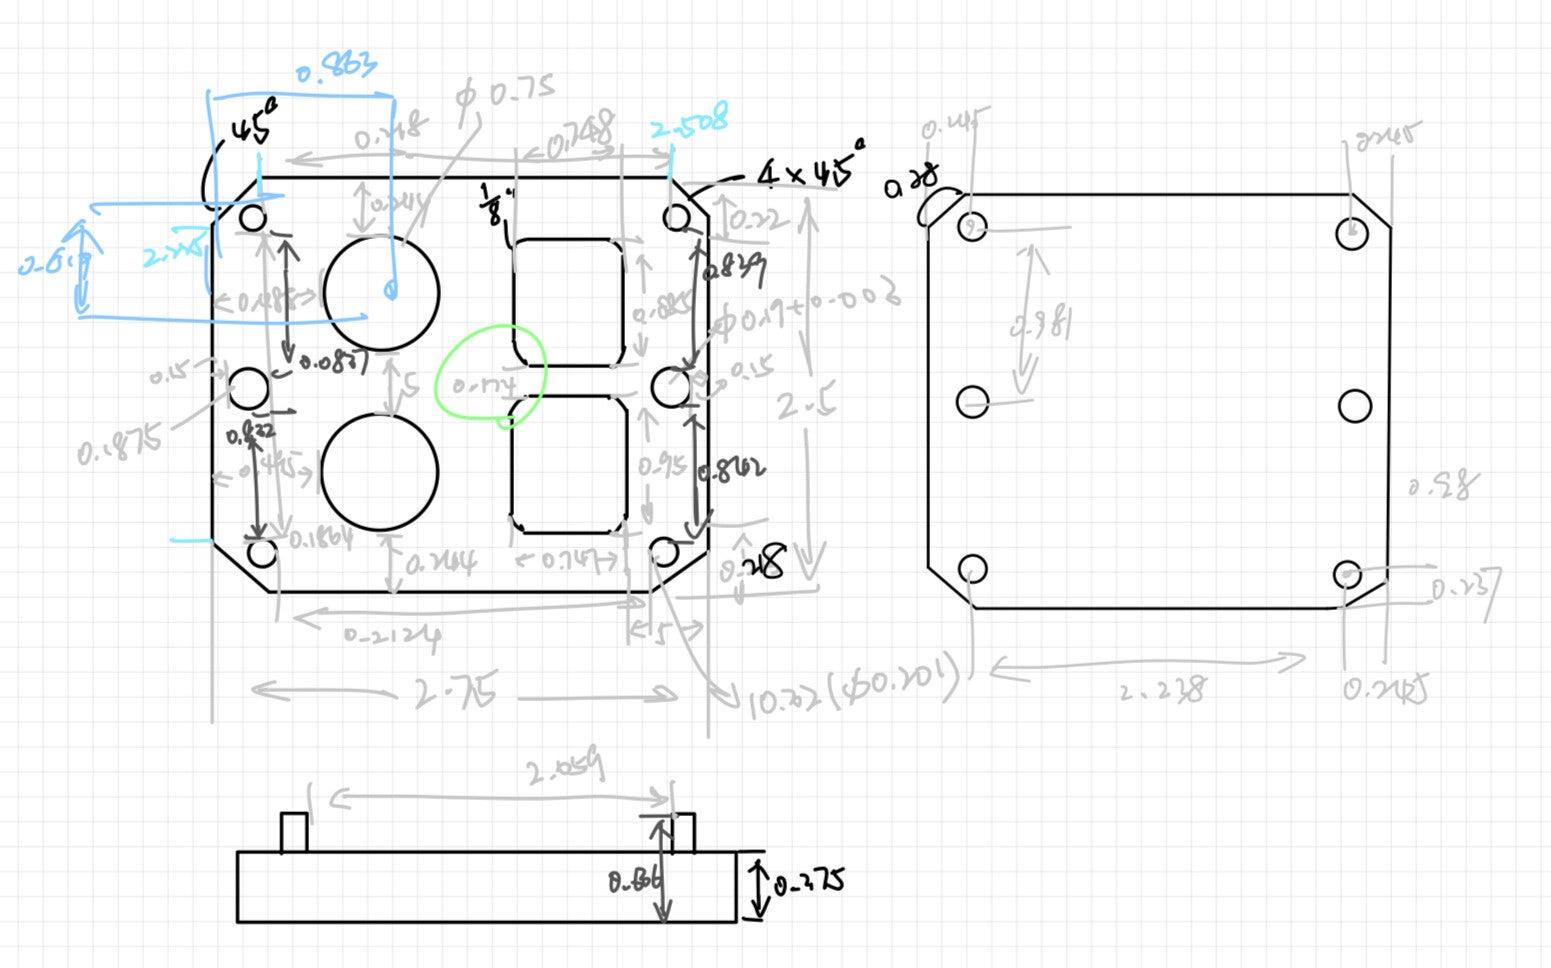
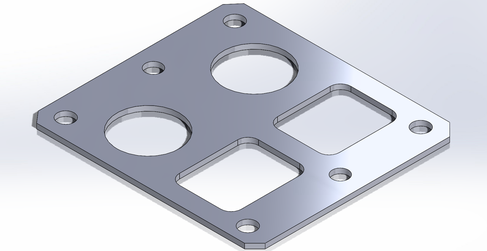
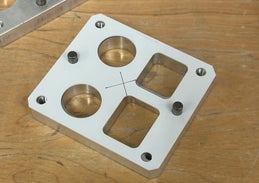
To the right is an image of a metal part along with my sketches showing the required dimensions for creating a gasket part. We used a digital caliper for precise measurements, enabling the accurate CAD model seen below. I created multiple sketches to keep dimensions clear and organized.

CNC Milling
The next step in the process involved generating a toolpath and GCode for the CNC machine from the CAD model. A video showcasing the completed job is provided on the left.
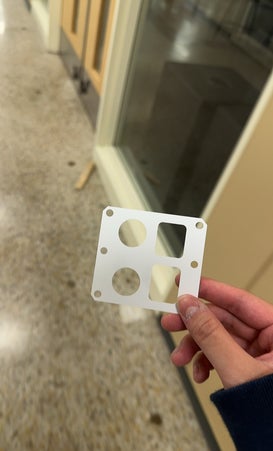
The final gasket obtained is shown below.

Unfortunately, when testing the gasket on the actual part, it does not fit since I measured the distance between the holes wrongly, and it was too late to remeasure; therefore, I assumed that the holes are symmetric on both sides and estimated the distance based on the photo taken during the measurements. It turned out that the distances are too small to fit the atual part. This experience deeply informed me that when working on the projects related to fitting in cover on the actual part, we need to firstly have very precise and strict measurements since very slight inaccuracy may cause unexpected and concecutive mistakes. Additionally, we also need to add +-0.003in for tolerance to make enough space for hole to go through all the way down. However, it is good that everything despite the distances worked perpectly well.
Final Gasket
After remeasuring the distance between holes and that between holes and sides, I added those dimensions on the sketches and modified on CAD, and repeated the same process as before. The new gasket came out and fitted perfectly.
